

As a dedicated supplier of The Baffle Brick, I often receive inquiries from customers about the installation instructions. In this blog post, I will comprehensively address this question, providing detailed and practical guidance to ensure a smooth and effective installation process.
Understanding The Baffle Brick
Before delving into the installation instructions, it's essential to have a basic understanding of The Baffle Brick. Our baffle bricks are engineered to provide excellent insulation and refractory properties, making them ideal for a wide range of industrial applications. They are designed to withstand high temperatures, resist chemical corrosion, and offer superior thermal stability.

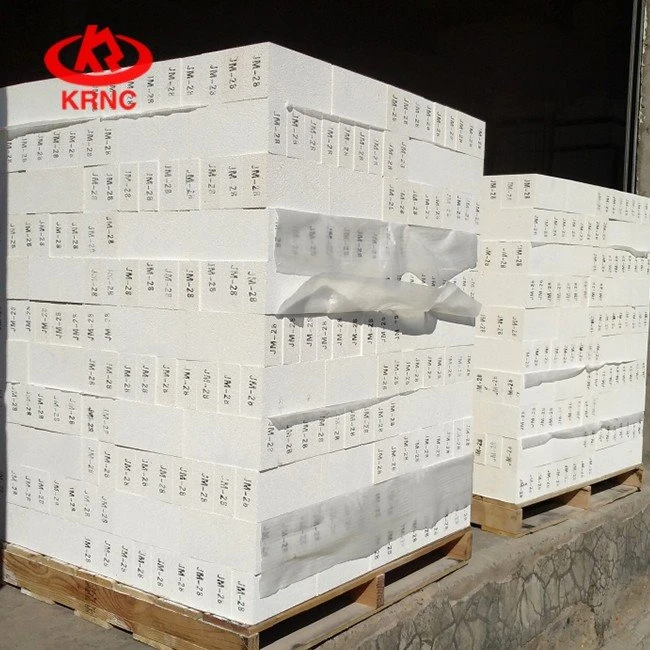
We offer a variety of baffle bricks, including the K30 JM30 Mullite Insulation Brick, K28 JM28 Mullite Insulation Brick, and JM23 Insulation Brick. Each type of brick is tailored to specific requirements, ensuring that our customers can find the perfect solution for their projects.
Pre - installation Preparations
- Site Inspection
- Conduct a thorough inspection of the installation site. Check for any uneven surfaces, debris, or potential obstacles that could affect the installation process. The site should be clean, dry, and level to ensure proper brick placement.
- Measure the dimensions of the area where the baffle bricks will be installed. This will help you determine the number of bricks needed and plan the layout accordingly.
- Material Preparation
- Ensure that you have all the necessary materials on - hand, including the baffle bricks, refractory mortar, trowels, levels, and other installation tools. The refractory mortar should be compatible with the type of baffle bricks you are using.
- Inspect the baffle bricks for any damage or defects. Damaged bricks should not be used as they may compromise the integrity of the installation.
- Safety Precautions
- Wear appropriate personal protective equipment (PPE), such as safety glasses, gloves, and a dust mask. Working with refractory materials can generate dust, which may be harmful if inhaled.
- Set up a safe working environment. Ensure that there is proper ventilation in the installation area to prevent the accumulation of fumes from the refractory mortar.
Installation Steps
- Base Layer Installation
- Start by applying a layer of refractory mortar to the prepared base surface. Use a trowel to spread the mortar evenly, creating a smooth and level bed for the first layer of baffle bricks.
- Place the first row of baffle bricks on the mortar bed, pressing them firmly into place. Use a level to ensure that the bricks are straight and level. Leave a small gap (usually around 3 - 5 mm) between each brick for expansion.
- Check the alignment of the bricks regularly as you progress. You can use a string line or a straightedge to guide the installation and ensure a uniform layout.
- Vertical Joint Filling
- Once the first row of bricks is in place, apply refractory mortar to the vertical joints between the bricks. Use a pointing trowel to fill the joints completely, ensuring that there are no voids.
- Smooth the mortar joints to create a neat and professional finish. This step is important as it helps to improve the insulation properties of the installation and prevents the entry of hot gases or liquids.
- Subsequent Layers
- For each subsequent layer of baffle bricks, apply mortar to the top surface of the previous layer. Stagger the joints between the layers to enhance the structural integrity of the installation. This is known as "bonding" the bricks.
- As you build up the layers, continue to check for levelness and alignment. Use a plumb line to ensure that the vertical walls are straight.
- Cutting Bricks
- In some cases, you may need to cut baffle bricks to fit around corners, edges, or irregular shapes. Use a brick cutter or a saw specifically designed for cutting refractory materials.
- Measure and mark the bricks accurately before cutting. Wear appropriate PPE when cutting bricks to protect yourself from flying debris.
- Top Layer and Finishing
- Once the installation is almost complete, install the top layer of baffle bricks. Apply mortar to the top surface of the second - last layer and place the final row of bricks.
- Fill the remaining joints with refractory mortar and smooth the surface. Check the overall installation for any loose bricks or gaps, and make any necessary adjustments.
Post - installation Considerations
- Curing
- Allow the installed baffle bricks to cure properly. The curing time depends on the type of refractory mortar used, but it typically ranges from 24 to 72 hours. During this time, avoid disturbing the installation.
- Follow the manufacturer's instructions for curing, which may include maintaining a certain temperature and humidity level in the installation area.
- Initial Firing
- After curing, it is important to perform an initial firing of the installation. This process helps to remove any remaining moisture from the bricks and mortar and improves their refractory properties.
- Follow the recommended firing schedule provided by the brick and mortar manufacturers. A slow and controlled firing process is usually preferred to prevent thermal shock and damage to the bricks.
Troubleshooting
- Loose Bricks
- If you notice any loose bricks after installation, it may be due to improper mortar application or insufficient joint filling. Carefully remove the loose brick, clean the surface, and re - apply fresh mortar before replacing the brick.
- Cracking
- Cracks in the baffle bricks or mortar joints can occur due to thermal stress, improper installation, or the use of incompatible materials. If the cracks are minor, they can be filled with refractory mortar. However, if the cracks are extensive, it may be necessary to replace the affected bricks.
Conclusion
Installing The Baffle Brick requires careful planning, proper preparation, and attention to detail. By following the steps outlined in this blog post, you can ensure a successful installation that provides long - lasting performance and excellent insulation properties.
If you have any further questions about the installation of The Baffle Brick or are interested in purchasing our products, please feel free to contact us. We are committed to providing our customers with high - quality products and professional technical support. Let's work together to meet your industrial insulation needs.
References
- Manufacturer's product manuals for The Baffle Brick and refractory mortar.
- Industry standards for refractory brick installation.


